Evolve Hosting just underwent a massive upgrade this week within the account area to add several new features we think you will find helpful. Let's take a look at a few of them!
New User Management Feature
Our latest upgrade introduces a new feature that takes a little bit to understand but we think you'll find it very useful.
Before
Prior to the upgrade, you had one main person known as the 'account holder' and then you could add 'contacts' who could login to your account and have restricted or full access depending the options you chose.
Now
A new feature called 'User Management' is replacing what was known as 'Contacts'. With this new feature, you can invite Users through your account to be able to login and access / manage different aspects of your account. This can be revoked at any time.
Why is this useful?
If you are working for an agency (website designer / developer, IT specialist, etc), this allows you to have a single login to our portal with access to all other users accounts you are authorized to, in order to manage their products and services, billing, and other functions for multiple client accounts using a single login. The main account holder can still restrict sections of the portal to these Users (billing, invoices, etc).
How can you invite users as the Main Account Holder?
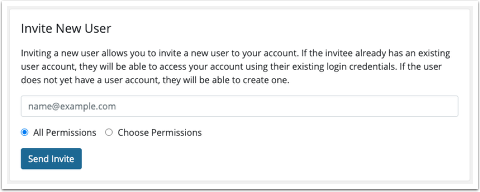
Login to your Evolve Hosting account at
https://core.evolvewebhost.com/clientarea.php and then:
- Go to Hello, Name! > User Management.
- Enter an email address under Invite New User.
- Choose All Permissions to grant all available permissions, or choose Choose Permissions and select the desired permissions.
- Click Send Invite.
If you send an invitation to an email address for an existing account, they can access the client account using their existing login credentials. If the email address does not correspond to an existing account, they can create one.
Invites expire in 7 days after they are sent.
Temporarily Disable Whois Privacy Protection for Domains
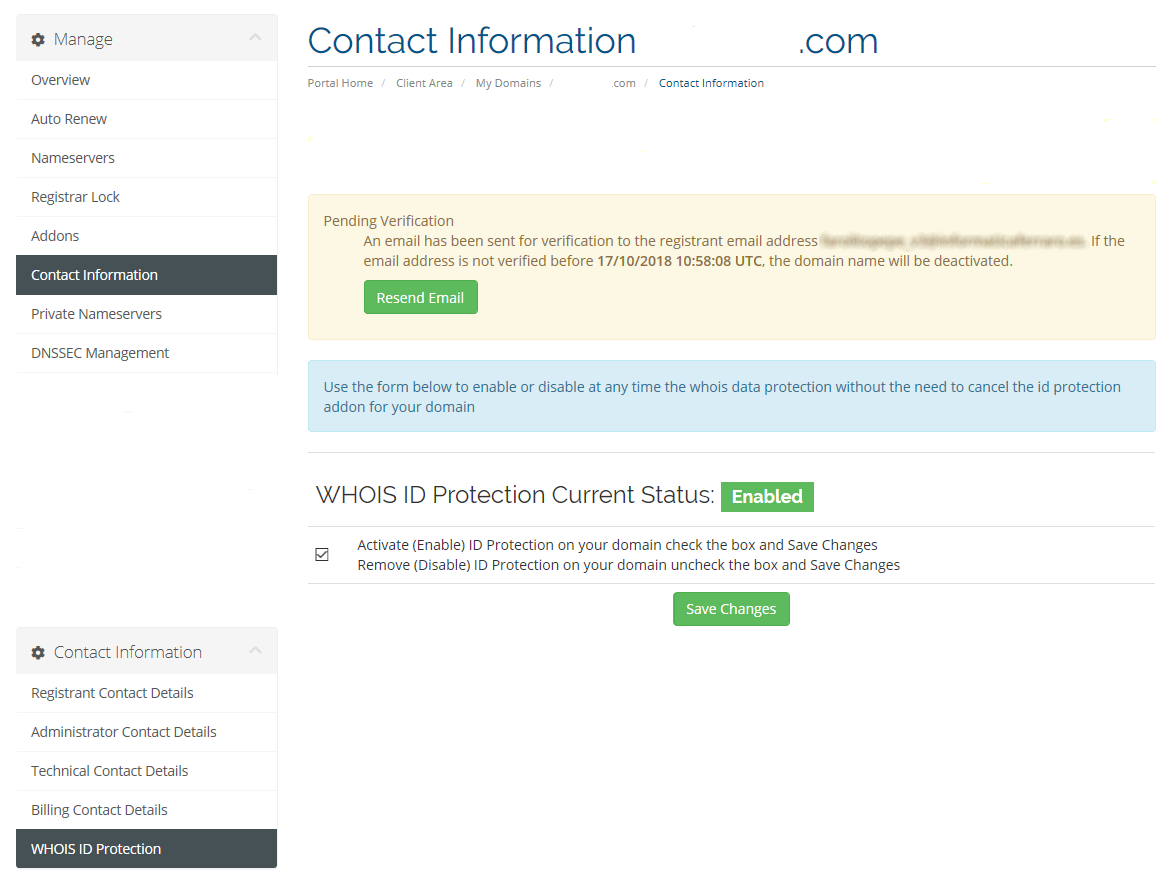
Typically when you have Whois Privacy Protection enabled for a domain and you want to disable it (maybe to verify ownership for an SSL Certificate), you would lose the Privacy Protection and have to purchase it again to get it back. Now, we're going to show you how to can disable it for the short term and re enable it once you're ready.
Where to find this setting
Once you are logged into the portal, go to Domains > My Domains and click 'Manage Domain' from the drop down off to the right of the domain that you want to enable / disable Whois ID Protection for. On the next screen, click 'Contact Information' from the left menu and you will see a sub menu below titled 'Contact Information' (Shown Above). Click on WHOIS ID Protection and you will see the screen above where you can enable / disable ID protection temporarily.
If you don't already have Whois ID protection enabled for your domains, we suggest adding it to cut down on spam and to hide your contact information from strangers and spammers. To add, you can do so through your account by going to Domains > My Domains and then for each domain, click 'Manage Domain' from the drop down off to the right. On the next page, click 'Manage and Purchase Addons' from the left side menu. On this screen, you will see the option to purchase Whois ID Protection.
If you would like, feel free to open a live chat or open a ticket for our Billing Department and we'll be happy to put the invoice together for you and get your information protected!
Quickly update all Whois Contact Information
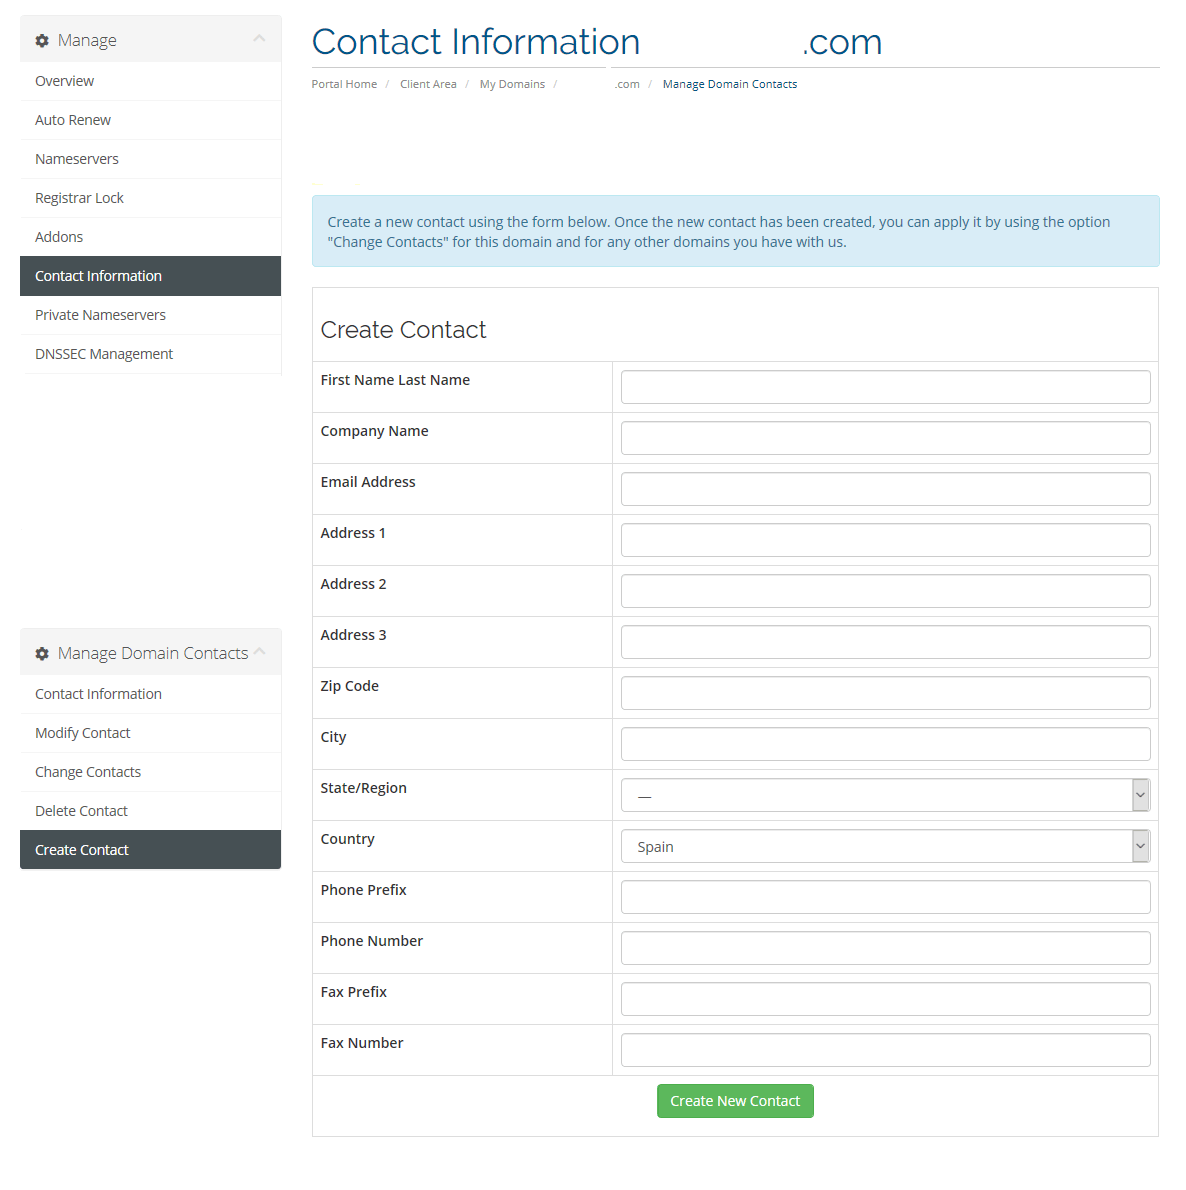
We've added new functionality to allow you to update the Registrant, Administrative, Billing and Technical Contacts for each of your domain names. In the past, you had to update each contact individually. Now, you can choose which 'contact types' you want to apply the changes to. For example, if the Registrant, Administrative, Billing and Technical Contacts are the same person, update it once and apply the changes across the board.
Where to find this setting
Once you are logged into the portal, go to Domains > My Domains and click 'Manage Domain' from the drop down off to the right of the domain that you want to enable / disable Whois ID Protection for. On the next screen, click 'Contact Information' from the left menu and you will see a sub menu below titled 'Contact Information' (Shown Above). Choose any of the links from this submenu to update your Domain contact information.
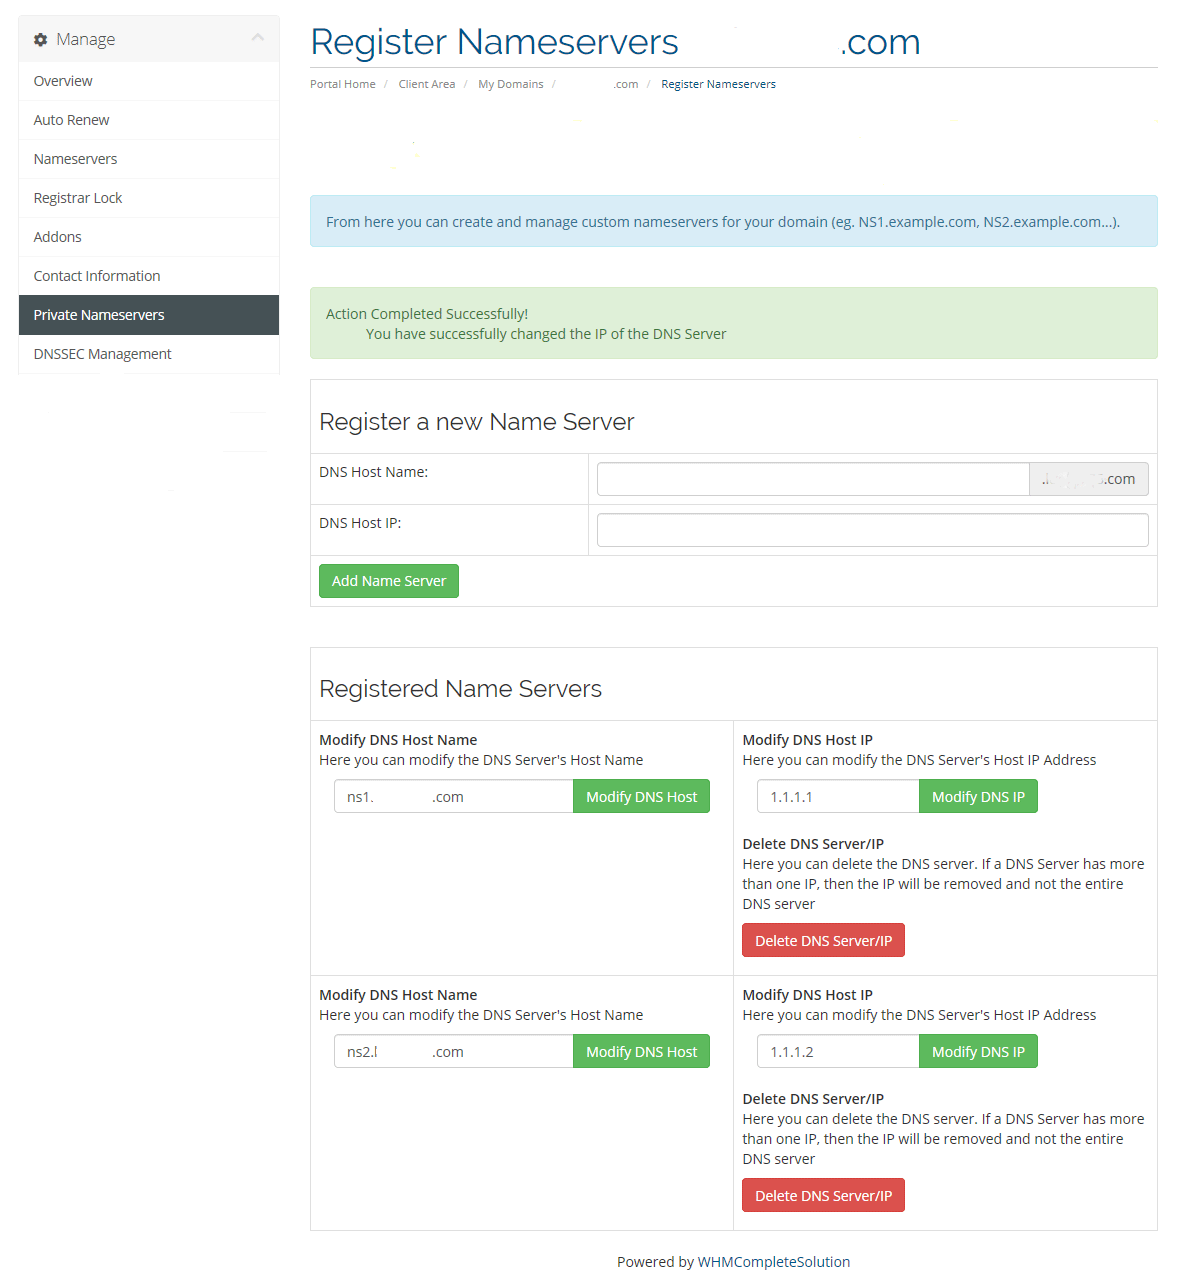
Manage Private Nameservers
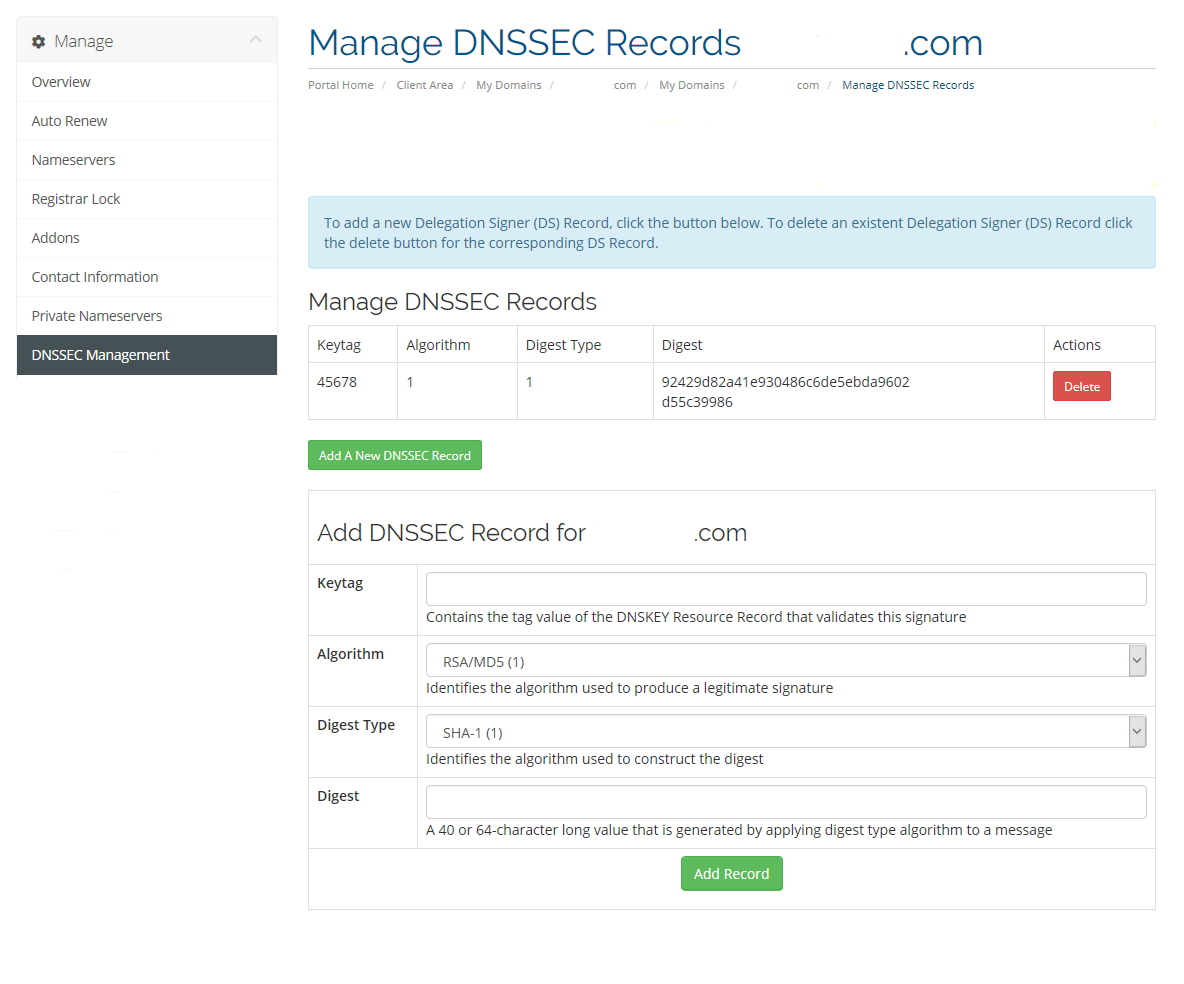
Manage DNSSEC Records
As always, if you have any questions about using these new features, please reach out to us and we're more than happy to assist!